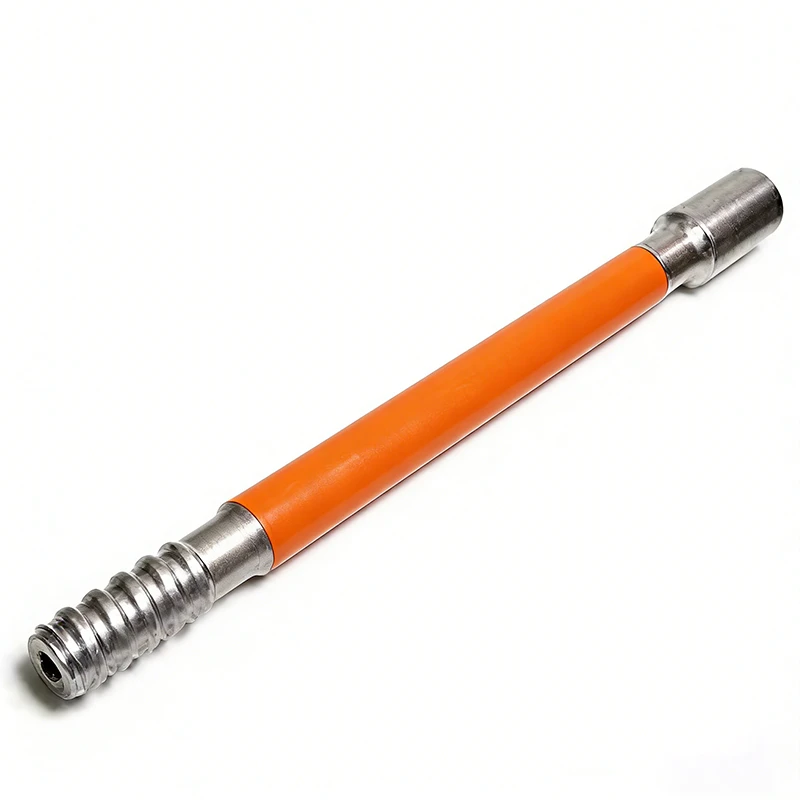
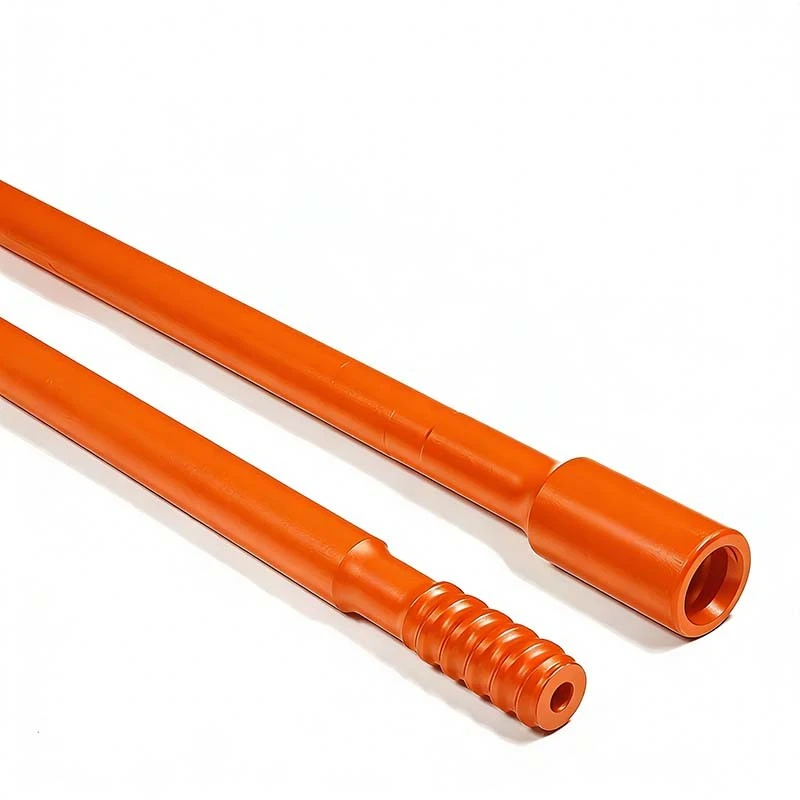
If you've ever stood next to a drilling rig watching it chew through rock or concrete, you might not have thought about what holds that long drill string together. Drill rods aren't just a single pole-they're sections that connect, twist, and lock to keep the drill bit working deep underground. As someone who's been supplying drill rods for over a decade, I've seen firsthand how messy things can go if connections are wrong: rods slip, threads cross-thread, or even break mid-drill, costing you time and money. Today I'm breaking down exactly how to connect drill rods the right way, no fancy jargon, just practical stuff I've picked up on job sites.
First, let's get the basics straight: not all drill rod connections are the same. The type you use depends on what you're drilling-rock, soil, water well, whatever. For example, if you're doing top-hammer drilling (super common in construction and mining), you'll run into a few go-to options. There's the Speed Drill Rod, made for fast, high-rotation drilling where quick connections matter so you don't waste rig time fumbling with parts. Then there's the Drifter Drill Rod, built for heavy-duty impact drilling, so its connection has to handle constant jarring without loosening. I've linked both if you want to check them out for your specific rig.
A lot of new drillers skip the prep step and go straight to twisting rods, but that's where mistakes start. Before even touching two rods, grab a clean rag and wipe every thread on both ends-any rock dust, mud, or leftover old grease is like sandpaper here. It can carve grooves into threads over time, making future connections loose or impossible to line up. Also, inspect the threads for burrs: if you feel a rough spot, use a thread chaser (a cheap tool every driller should keep) to smooth it out. I can't tell you how many times I've had a driller bring a rod to me because their threads "won't line up" and it was just a tiny burr they missed.
Next step: aligning the rods, not forcing them. This is where so many people mess up. Cross-threading is the enemy. When you hold the male end of one rod up to the female end of the other, you should be able to twist it by hand 2–3 full turns without any force. If it doesn't spin easily, stop right there-you're either crooked or have debris in the threads. Pushing too hard here will strip the threads permanently, and you'll be buying a new rod before you know it. Once you get that easy hand twist, you're on the right track.
Now, the actual tightening part. This isn't just "spin until it stops"-you need a torque wrench, no exceptions. The required torque depends on the rod type. For example, Threaded Drill Rods (the standard for most water well and construction drilling) usually need around 300–500 ft-lbs, but always check your rod's technical manual. A guide sleeve, which helps keep the drill string straight, has a lower torque requirement because it carries less impact load. If you don't have a torque wrench, borrow one or get an affordable digital model-skimping here leads to connections that come loose mid-drill, which is a nightmare when you're 100 feet down.
Wait, what about tapered drill rods? I mentioned those earlier, and they're the old-school workhorses for smaller rigs and horizontal drilling. Tapered drill rods rely on tapered seating surfaces together with threads, using a wedging effect for secure locking, so connecting them is a little different. You tap the male end gently with a rubber mallet until it seats fully, then give it a quick twist with a pipe wrench to lock it. No torque wrench is typically required here, but you also don't want to over-tap-you'll damage the taper and end up with a wobbly connection. I've seen new drillers hit it so hard with a steel hammer that they bent the rod, and that's a $200 mistake for no reason.
Also, don't forget about the collar or coupling. Some drill strings use separate steel couplings that screw onto both rod ends. That coupling is a wear part-inspect it every time you assemble the drill string. If the inside of the coupling has gouges or worn threads, replace just the coupling instead of the whole rod. As a supplier, I always tell customers that couplings are far cheaper to replace than rods, and they make a huge difference in the overall service life of your drill string.
Let me also share a quick pro tip: after connecting two rods, check for free play or wobble at the joint. If there is obvious movement, the joint is not tightened enough. If they seize and cannot be separated, do not yank with the rig. Use a pipe wrench on the flat forged sections of the rod body, never apply force directly on the threads. Threads are the vulnerable point, so clamping force should act on the solid rod body. If you're working in cold weather, add extra thread grease or anti-seize compound. Metal contracts in low temperatures, and cold conditions greatly increase the risk of thread seizing. I've had a driller leave a rod outside overnight in winter, and when he tried to connect it, the threads seized tight; a little anti-seize would've saved him 20 minutes of hassle.
Now, when is connecting rods actually impossible to fix? If you're using old, worn-out rods-flattened threads, rounded taper surfaces-no amount of tightening will fix that. That's when it's time to swap them out for new ones. I work with a lot of drilling teams who wait too long to replace rods, and end up with a rod breaking 50 feet underground, which means they have to pull the entire drill string to fish it out. That's way more expensive than buying a new rod.
At the end of the day, connecting drill rods isn't rocket science, but it's a skill that takes a little practice to get right. Skip the prep work, force the connection, or ignore torque specs, and you'll be dealing with costly downtime you can't afford. If you're not sure which rod is right for your setup-whether it's the Speed Drill Rod for quick jobs, Drifter Drill Rod for heavy impact, or any of the others I mentioned-reach out to talk through your needs. I'm here to help you pick the right tools so your connections hold up, not fail.